
2026-06-16
Project Halide, Building A Small-Model Diagnostic Workbench For Damaged Film
Project Halide is a small-model diagnostic workbench for analog film scans. It takes a scan, negative photo, or contact-sheet crop, extracts visible defect evidence, validates the geometry, shows the result as an overlay, and writes a physical diagnosis with next steps.
Links:
- Video walkthrough: youtu.be/DGJ2M1aQCrE
- Live Space: huggingface.co/spaces/build-small-hackathon/project-halide
- Vision model: huggingface.co/Lonelyguyse1/halide-vision
- Source: github.com/LonelyGuy-SE1/Project-Halide
- Field notes: docs/field-notes.md
Why This Exists
Analog film defects are not just visual artifacts. They are physical clues.
A bright line in a scan might be scanner dust, a base-side scratch, lifted emulsion, a drying mark, static discharge, chemical staining, a light leak, or a feature in the photographed scene. Those are not interchangeable. Cleaning the scanner glass will not fix emulsion damage. Wet-gate scanning will not fix a dirty film holder. Rewashing a negative is a different decision from doing digital dust removal.
The goal is not to restore the image. The goal is to make the evidence inspectable enough that a human can decide what to try at the scanner or lab bench.
Architecture
The runtime pipeline is intentionally simple at the top level:
film scan or negative photo
  -> MiniCPM-V 4.6 vision extraction
  -> schema validation and artifact filtering
  -> optional tiled fallback
  -> conservative scratch assist
  -> validated defect JSON
  -> Nemotron-Mini-4B-Instruct diagnostic reasoning
  -> Gradio light-table UI and SQLite history
The app runs as a Gradio Space. Runtime inference uses open weights on the Space GPU. It does not call hosted inference APIs.
Models:
- Vision:
openbmb/MiniCPM-V-4.6 - Fine-tuned vision checkpoint:
Lonelyguyse1/halide-vision - Reasoning:
nvidia/Nemotron-Mini-4B-Instruct
Supporting infrastructure:
- Modal A100-80GB for training and export workloads.
- Modal T4 for cheaper GPU checks.
- Hugging Face ZeroGPU A10G for the official Space runtime.
- Hugging Face T4 Space mirror for final browser validation after ZeroGPU quota was exhausted.
- SQLite for local diagnosis history.
- CPU-only local tests for schema, storage, UI handlers, and pipeline stubs.
The Real Bottleneck Was Data
The first trap in this project was assuming that the hard part would be model plumbing. It was not.
The hard part was data.
There is no clean, public, rights-simple dataset of analog film scans with bounding boxes for defects like:
- dust
- dirt
- scratch
- long hair
- short hair
- emulsion damage
- chemical stain
- light leak
- scanner or holder artifact
Public examples are scattered across forum threads, restoration posts, camera tests, scanner screenshots, and before/after articles. They are useful, but noisy in several ways:
- Many examples are positive scans, not negatives.
- Some are handheld photos of film strips rather than scan outputs.
- Some contain arrows, text labels, or forum annotations.
- Some show ordinary photographs with no strong defect signal.
- Some show real damage, but the physical cause is not verified.
- Some defects overlap: a lifted emulsion region can also look like chemical haze.
- Scanner-side artifacts and film-side defects can look visually similar.
That matters because the model cannot learn a clean boundary if the input examples do not have one. The work became less about "collect images" and more about "decide what kind of evidence each image actually contains."
The private five negatives supplied for evaluation were kept in .nottracked and were not used for training. Additional public candidates from Negative Lab Pro, Photrio, Cinematography.com, and Analog.Cafe were also kept in .nottracked for visual inspection and stress testing rather than committed as dataset assets.
The First Failure: Good-Looking Boxes In The Wrong Places
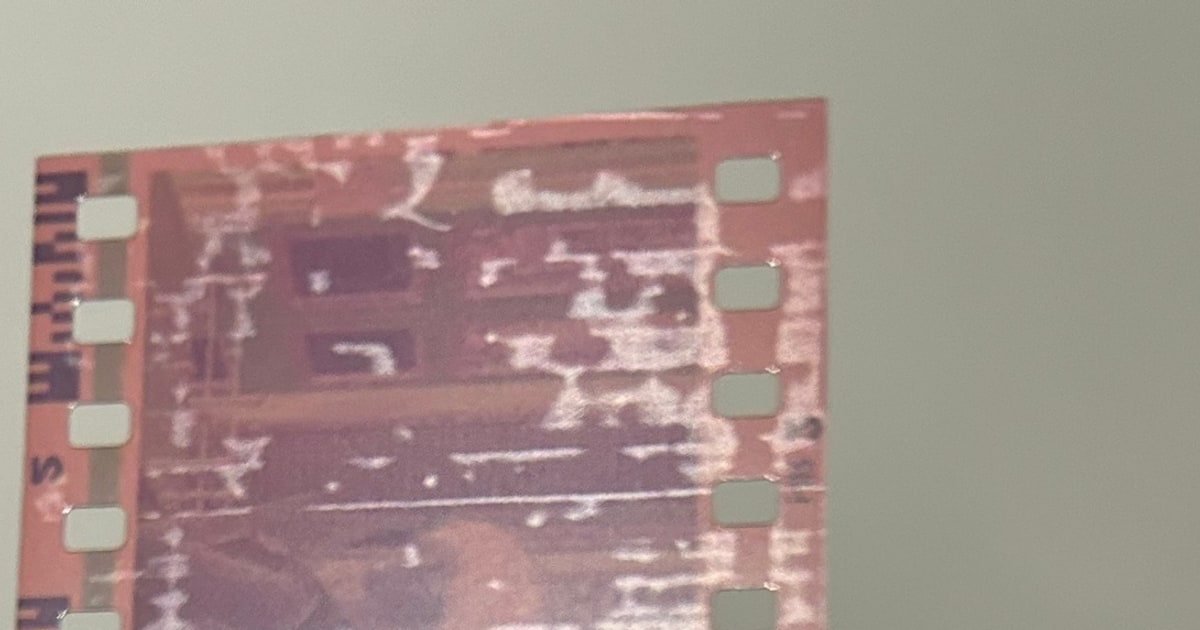
The failure that changed the project came from a real 35mm color negative strip with visible residue, scratches, glare, sprocket holes, and stain-like regions.
The first live run produced many boxes. At a glance, that looked like progress. The overlay told a different story. A lot of boxes were on sprocket holes, film borders, and repeated edge features.
This is a classic vision failure mode. Sprocket holes are repeated high-contrast structures. Film borders are long edges. Dust near the sprocket lane creates small bright marks. A model trained to find defects will often treat those as defect-like unless the downstream system rejects them.
Another public strip failed differently: detections clustered around frame separators. A low-density strip triggered a noisy fallback burst. Positive damaged scans sometimes let scene content dominate the defect signal. A broad crack network in a private negative disappeared at full-frame scale but appeared when cropped.
Those failures made one thing clear: the model output needed a validator that understood geometry and workflow constraints.
What Fine-Tuning Helped With
Fine-tuning MiniCPM-V helped most with output shape and vocabulary.
For this app, the vision model must return constrained defect JSON, not a paragraph:
{
  "defects": [
    {
      "label": "scratch",
      "bbox": [0.12, 0.33, 0.61, 0.36],
      "confidence": 0.71
    }
  ]
}
That alone is a big deal. If the first stage emits prose, malformed JSON, unknown labels, or boxes in inconsistent coordinate systems, every later step becomes fragile.
Fine-tuning improved schema reliability and label consistency. It did not solve the physics of film damage. With a small and imperfect dataset, it would be unrealistic to expect the model to perfectly separate scanner dirt from film dirt, emulsion damage from chemical stain, or subject hair from actual hair-like debris on film.
The final design treats the model as a source of candidate evidence, not as the final judge.
The Validator Became The Product
The validator has several jobs.
First, it normalizes geometry. Model outputs may be normalized floats or integer grid coordinates. Boxes can be malformed, reversed, out of range, or nested in odd ways. Those records are rejected before they reach the diagnosis.
Second, it enforces the label set. The app only allows:
dust
dirt
scratch
long_hair
short_hair
emulsion_damage
chemical_stain
light_leak
Third, it filters likely false positives. A low-confidence central "long hair" box in a portrait-like subject region is probably subject content, not film damage. Small low-evidence boxes along the sprocket lane are often border or sprocket artifacts. Narrow long boxes on the extreme frame edge are often film boundaries.
Fourth, it deduplicates boxes. If two boxes of the same label heavily overlap, the higher-confidence one is kept.
Finally, it emits telemetry. The UI shows not only final defect count, but also invalid drops, duplicate drops, edge artifacts removed, and classical assist boxes. This is important because the user should know whether the system found a clean set of defects or had to suppress a lot of noise.
Tiled Fallback
Full-frame inference is convenient, but it can miss small or transparent damage in large scans.
The private negative5.png case exposed this. Full-frame inference returned zero validated defects on a broad lifted crack network over a portrait. When inspected as crops, the same model could see the damage. The problem was scale and attention, not total inability.
The fallback strategy is:
- Run full-frame inference.
- If too few defects are validated and the image is large enough, generate overlapping 960 px tiles.
- Run the same MiniCPM detector on each tile.
- Remap tile-local normalized boxes back into full-image coordinates.
- Send the combined boxes through the same validation, edge filtering, and deduplication path.
This recovered the crack network in the private held-out case.
Final private smoke test summary:
| Image | Expected condition | Output summary |
|---|---|---|
negative1.png | Long scratches across a portrait | 8 defects, including scratch and emulsion damage |
negative2.png | Abraded emulsion and dirt patches | 9 defects, including scratch and emulsion damage |
negative3.png | Severe emulsion damage and debris | 6 defects, including scratch and emulsion damage |
negative4.png | Near-clean hard negative | 0 defects |
negative5.png | Broad lifted crack network over a portrait | 45 defects, including 17 scratch and 14 emulsion damage |
The fifth case is over-boxed, but it is still a useful recovery: zero defects was much worse than a noisy but visible crack network. The UI makes that tradeoff inspectable.
Classical Scratch Assist
The classical assist is deliberately small and conservative. It is not a second model.
It uses local contrast to find obvious bright linear structures that look like scratches. The implementation downsizes the image, converts to luminance, subtracts a Gaussian blur, builds a high-percentile bright residual mask, then looks for long horizontal or vertical runs. Candidates are converted to normalized boxes and assigned capped synthetic confidence.
The important constraints:
- It only contributes scratch candidates by default.
- It is capped to 8 candidates.
- It emits modest confidence values.
- It goes through the same edge-artifact filter.
- It is meant as a backstop, not a detector replacement.
This was necessary because an earlier version of the assist emitted compact debris when the model returned nothing. On a low-density strip, that produced 32 fallback detections, including 24 dust boxes. After tightening the assist and edge filter, that same strip returned 0 final defects after 8 edge artifacts were filtered.
That regression mattered. It made the system less exciting on paper, but much more trustworthy in practice.
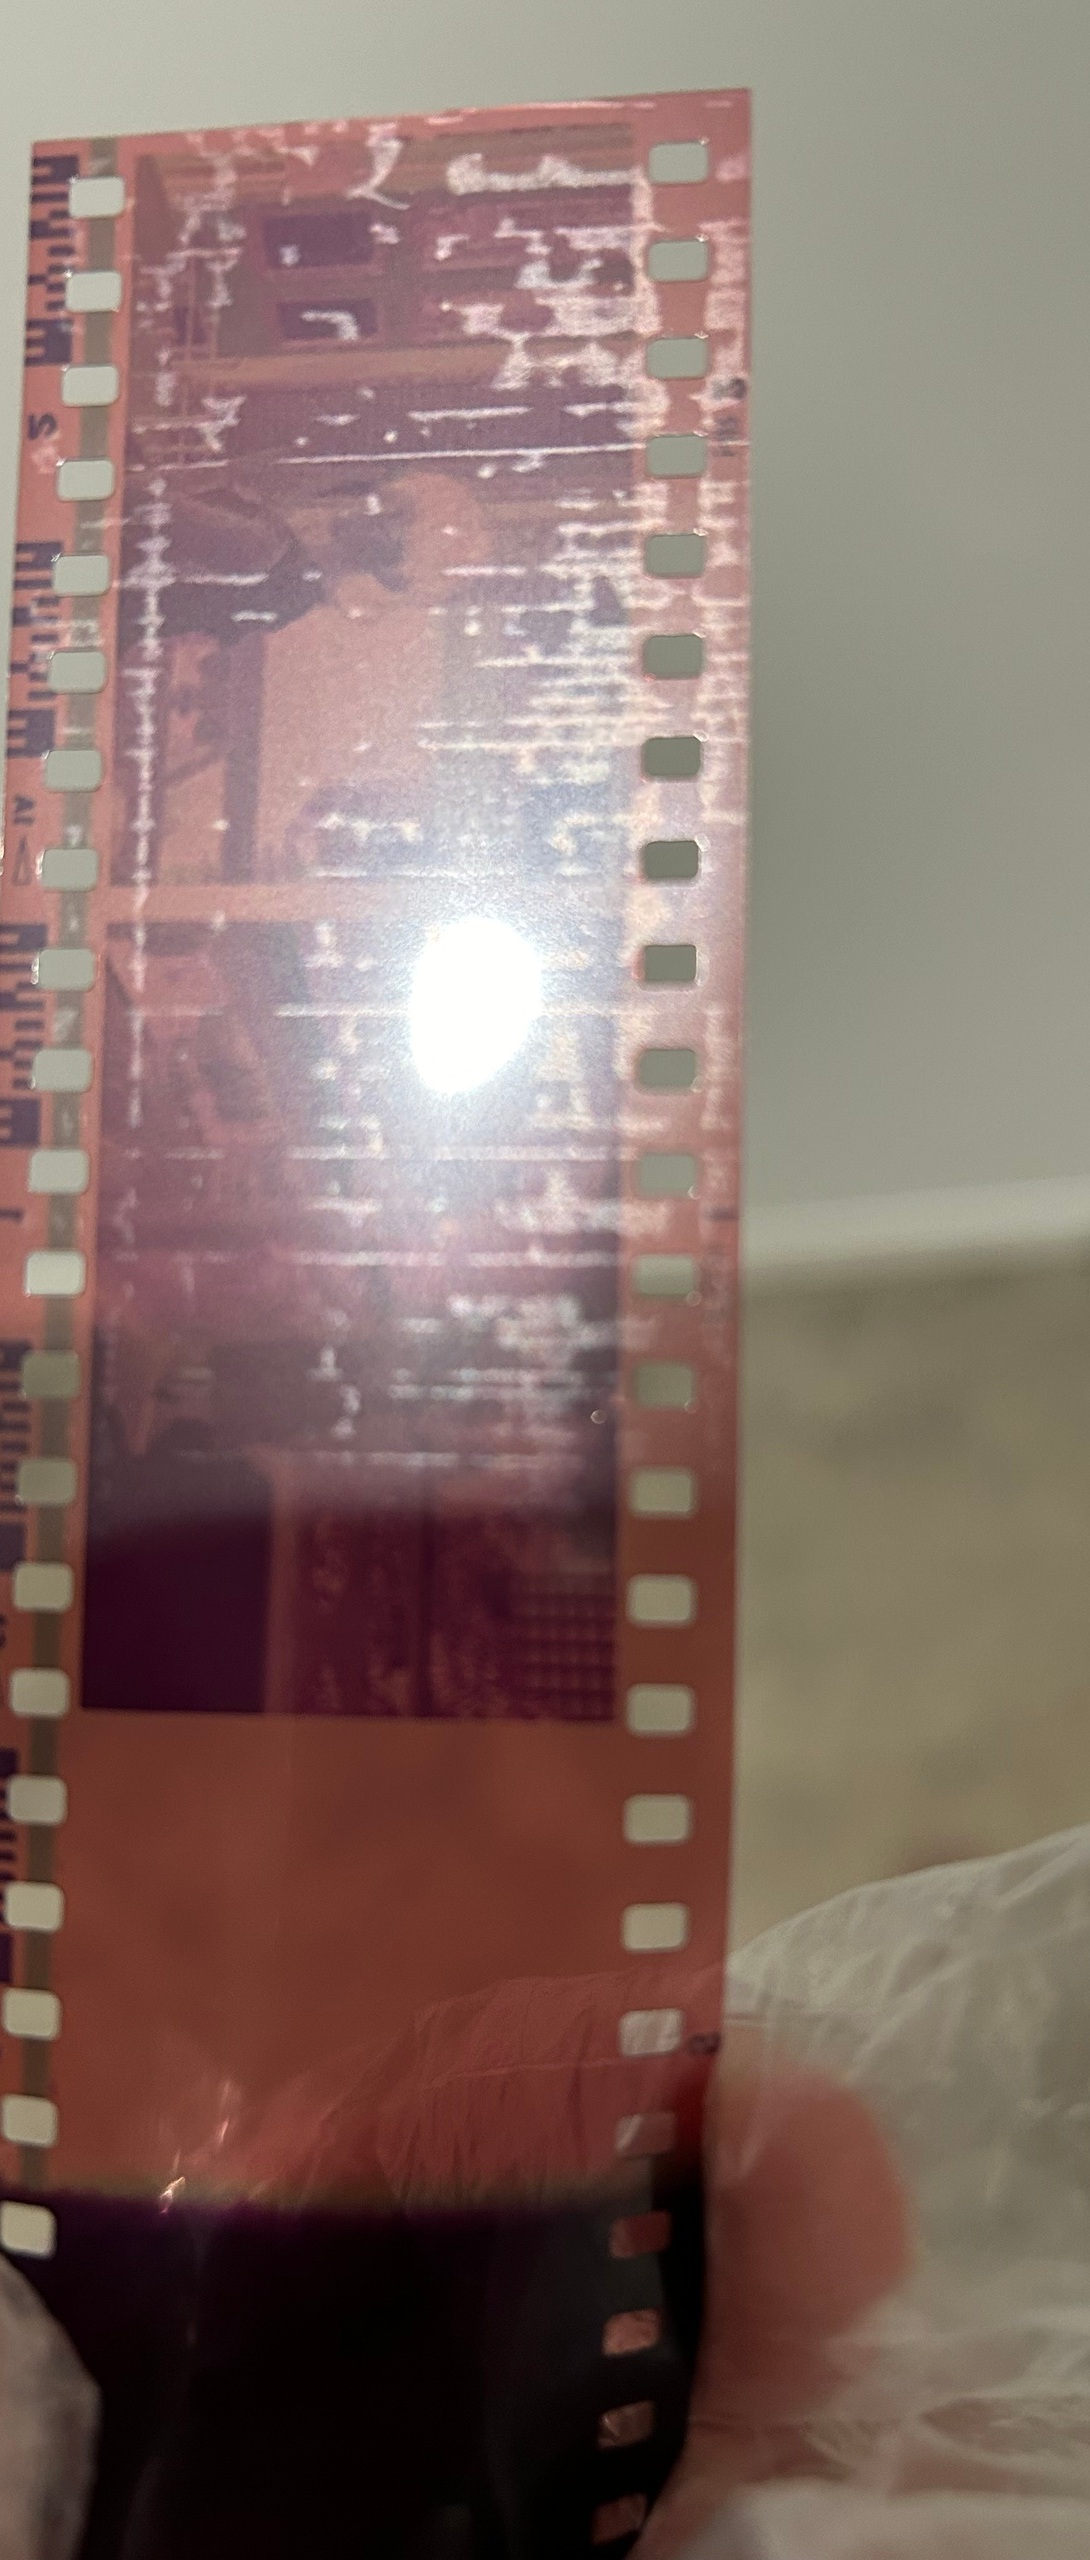
The Demo Negative
The public demo case uses a real 35mm negative strip photo with visible residue, scratches, glare, sprocket holes, and stain-like areas.
Real 35mm negative strip:
Validated overlay:
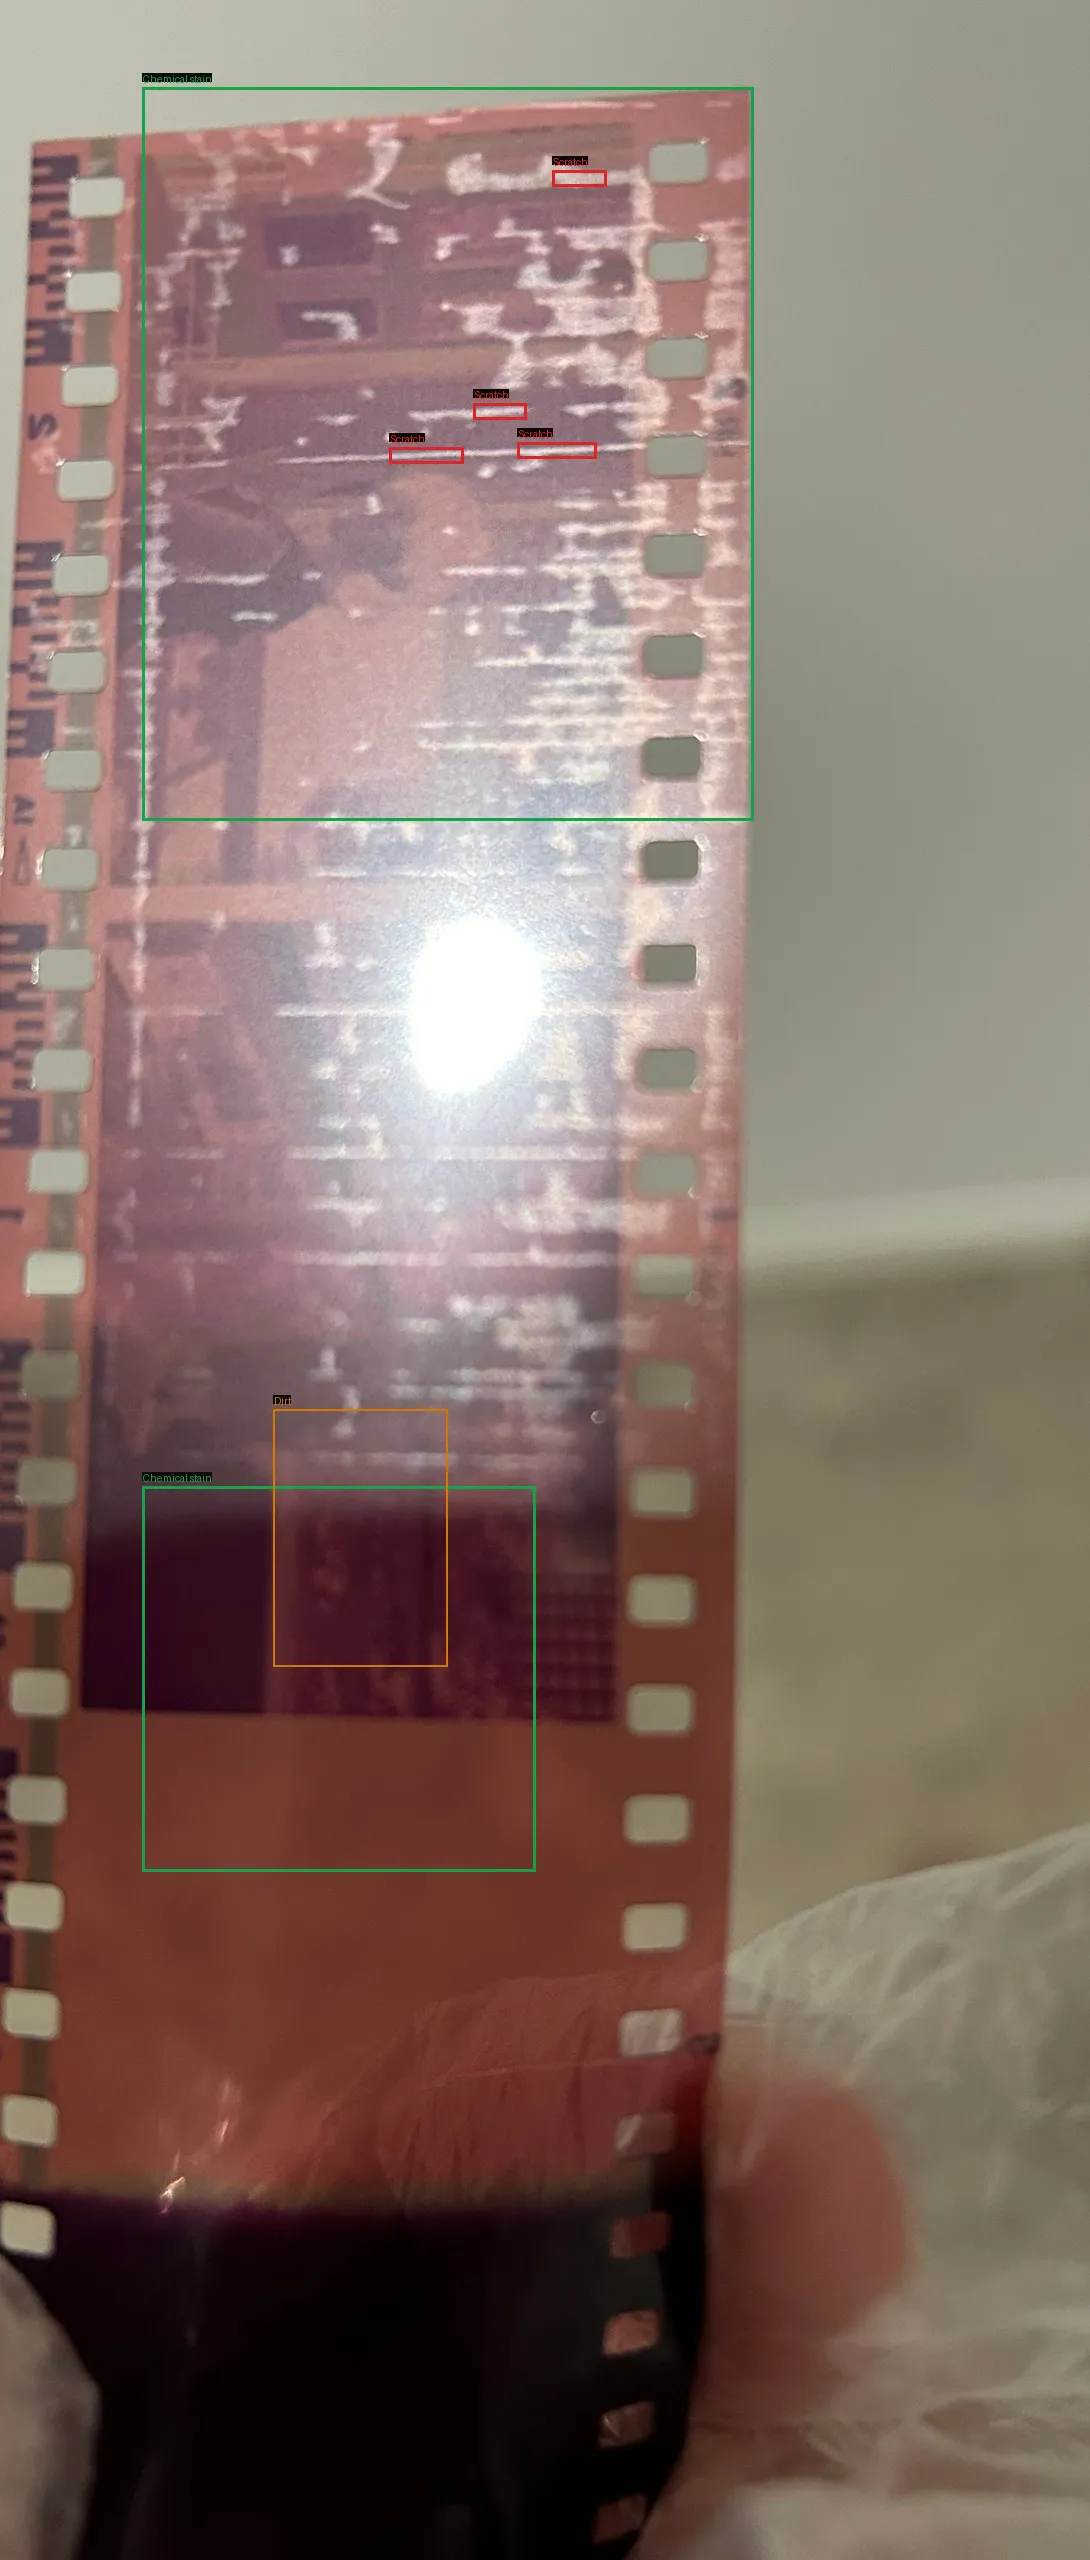
Official Space API result:
{
  "defect_count": 7,
  "label_counts": {
    "chemical_stain": 2,
    "dirt": 1,
    "scratch": 4
  },
  "edge_artifact_count": 79,
  "classical_assist_count": 4,
  "duplicate_count": 1,
  "dropped_count": 10
}
A cold T4 browser run returned 9 final defects on the same image, adding one dust box and one extra chemical-stain box. I am leaving that variance in the write-up because it is real. Small model inference on messy real-world inputs can shift. The point of the app is not to hide that. The point is to keep the overlay, telemetry, and raw JSON visible enough that the user can judge the result.
Metadata Confidence
Film metadata is useful when it is real. It is harmful when it is guessed.
Halide asks for metadata confidence and passes that into the reasoning stage. If film stock, age, storage, or DPI are uncertain, Nemotron is instructed to prioritize visible evidence instead of inventing a story from weak metadata.
That is why the demo report focuses on scanner-side contamination, handling debris, chemical staining, and physical abrasion. It does not pretend to know the film stock history when the user marked it as unknown.
Why The UI Matters
For this task, the UI is not just a shell around the model. It is part of the diagnostic method.
The app needs to answer:
- What did the model see?
- What did validation remove?
- Are the boxes on real damage or on sprocket holes?
- Can I compare original and overlay without alignment drift?
- Can I reopen a previous diagnosis?
- Can I see the raw JSON if the report sounds wrong?
That led to the current Gradio workbench:
- Custom autumn theme.
- Intake rail for image and metadata.
- Shared-canvas original versus overlay viewer.
- Full-size original and overlay links.
- Report, evidence, history, and JSON tabs.
- SQLite-backed history recall.
- Telemetry for dropped boxes, duplicate boxes, edge artifacts, and assist boxes.
The visual polish matters because a bad interface makes model errors harder to notice. In a diagnostic tool, that is not cosmetic.
Runtime And Deployment Constraints
The app refuses model inference when CUDA is not visible. Local CPU is only used for file I/O, JSON parsing, image drawing, dataset preparation, and unit tests.
GPU usage across the build:
- Modal A100-80GB for training and export workloads.
- Modal T4 for lower-cost GPU checks.
- Hugging Face ZeroGPU A10G for the official Space runtime.
- Hugging Face T4 Space mirror for final browser validation after ZeroGPU quota was exhausted.
The official Space hit the daily ZeroGPU quota during validation after repeated API runs. The same deployed bundle was then checked on a personal T4 mirror for browser flow, mobile layout, and history recall. This is exactly why the demo video is included: reviewers should be able to evaluate the app even if live GPU quota is temporarily unavailable.
Testing
Local tests do not load the models. They exercise the deterministic parts:
- Defect schema validation
- Bounding-box normalization
- Edge-artifact filtering
- Deduplication
- Classical scratch assist
- UI output contracts
- History selection and recall
- Pipeline orchestration with stubs
- Prompt construction and JSON rendering
Final local suite:
55 passedLive checks were run through the Gradio API and browser on GPU-backed Spaces.
What Halide Is Not
Halide is not an archival authority and it is not a restoration filter.
It can over-box broad damage regions. It can assign more than one label to the same physical problem. It can miss subtle damage. It can still be confused by scene texture or unusual negatives.
The intended use is narrower:
- Make likely defect evidence visible.
- Remove obvious sprocket, border, and geometry false positives.
- Keep uncertain metadata from dominating the diagnosis.
- Suggest physical next steps.
- Preserve history and JSON for review.
That is the useful boundary. The model proposes evidence. The validator reduces predictable failure modes. The UI lets the human inspect the result.
What I Would Build Next
The next version needs a better dataset more than it needs a bigger model.
I would build a crop-level benchmark with separate fields for:
- visible defect class
- likely physical cause
- film-side versus scanner-side uncertainty
- negative photo versus scan output
- confidence from human reviewers
- whether the defect should affect physical remediation
I would also add:
- Side-by-side re-scan comparison after cleaning.
- A scanner calibration mode.
- A separate scanner-artifact class.
- Better grouping for broad stain regions.
- Repeated-run consensus for unstable cases.
- A rights-clean public defect benchmark.
Closing
The most important lesson from Project Halide was that the model was only one part of the diagnostic system.
Real negatives are messy. The public data is fragmented. The labels describe physical causes, not just visual patterns. Small models can help, but only when the product around them is honest about uncertainty and careful about validation.
That is where Halide landed: a small open-weight film diagnostic workbench that treats model output as inspectable evidence, not final truth.